DLTK's Holiday Crafts for Kids
Cardboard Bouquet Craft
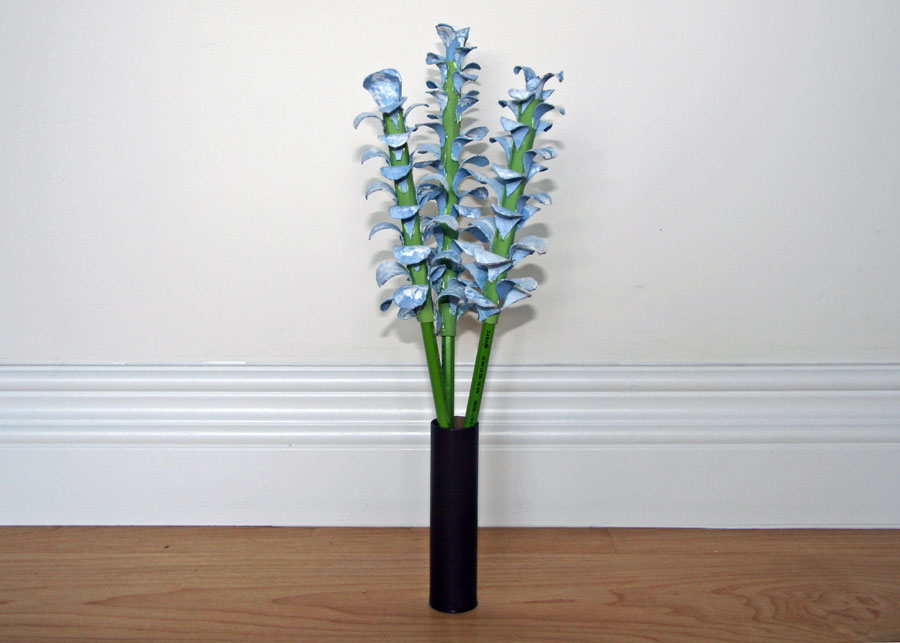
I love flowers all over the house, but I can't afford to buy a new bouquet everytime the old one dies. It also makes me feel pretty sad to see my beautiful bouquets wilting. My solution? Make my own bouquet out of cardboard!
This can be a bit of a project depending on how big of a bouquet you want, but it's a great creative activity for a rainy day. Let your creativity shine by painting your flowers whatever colour you want. You can also do this as a family (everyone makes one flower) or gift it to a friend or loved one.
Using cardboard and pencils is fantastic because it's something most people have around the house already, which means no going out to buy expensive crafting materials. Plus reusing materials like cereal boxes is a great way to be environmentally friendly.
Materials:
- cardboard,
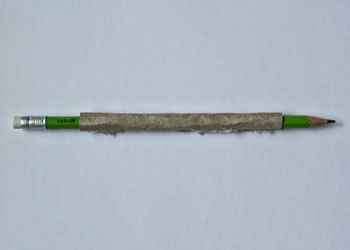
- pencils (I had green pencils luckily, but you can use any colour pencil and paint them later),
- paint (green and any petal colour you want),
- paint brushes,
- scissors,
- hot glue gun and sticks,
- small tube like container
Craft Instructions:
 Cut out a long strip of cardboard for every flower you want to make.
- Width: ~2" (enough to wrap all the way around the pencil with space to glue it together).
- Length: 4"-6" (I like to make my flowers a few slightly different heights so that my bouquet looks more realistic).
- Wrap the cardboard around the pencil and use hot glue to secure the cardboard into a tube (stem) shape.
- Paint the stem green. Also paint the pencil green if it isn't already.
 Now time for the petals (this may take a bit of time):
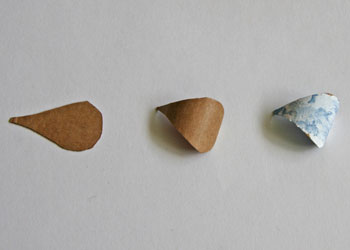
- Cut out the petal shape.
- TIP: you need about 24 petals per 5" flower, to make this process faster you can fold the cardboard in half and cut out several petals at a time.
- TIP: For a more realistic flower you can cut out larger and smaller petals, put the larger petals at the bottom of the stem and work your way up to smaller petals.
- Wrap the petals around a pencil to give them a curved shape.
- Paint the petals.
- TIP: I think it looks nicer to paint each petal individually, but if you can also paint a large sheet of carboard first (on both sides) let it dry really well in between sides and then cut the petals out.
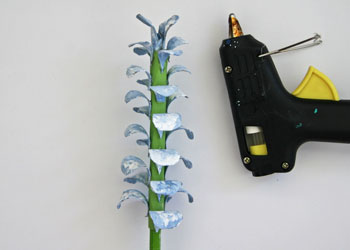
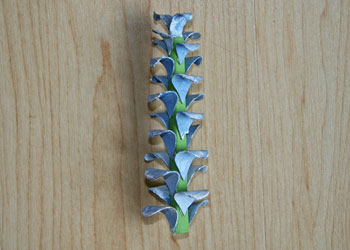 Let the petals dry completely and then use a hot glue gun to attach the petals to the stem.
- TIP: I treated the stem like it had four sides. I glued two petals on opposite sides of the stem, then I glued two more petals a little bit further up the stem across from each other on the other two sides. This made the flower look like the petals were curling around it.
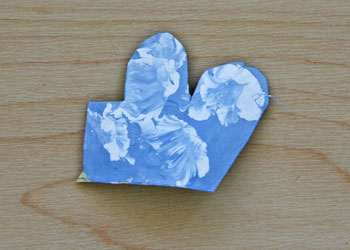 Cut a shape (like seen in the picture here) out of cardboard that looks like a rectangle with two large lumps on one side.
- Paint the shape like a petal.
 Let it dry completely and then wrap it into a cone shape. Curl the two lumps a little bit to give it a petal shape.
- Stick the cone tip into the top of the stem (tube) so that it looks like the top petals of the flower. Use hot glue to secure it in place.
- Now that your flower is all ready, you can fit the bottom of the tube around the eraser of the pencil.
- TIP: If you wrapped the tube tightly enough it should stay in place on it's own, otherwise you can secure it with a bit of glue or tape.
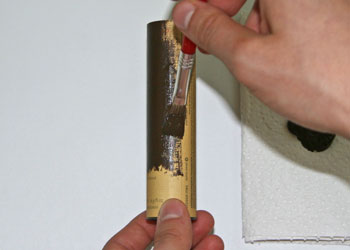 Find a container that you like and paint it if you want (I used a small tube and painted it brown but you could also use a vase or a mason jar).
 Now you can stick your flowers in your container and display them beautifully in your home! Enjoy!
Printable version of these instructions