DLTK's Holiday Activities for Kids
Iron On Transfer T-Shirts: Christmas Theme
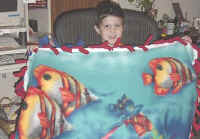
 We gave iron on transfer shirts to all of the birthday party guests at
Tasha's 6th party. To read the whole story and see pictures of the shirts
(after 2 years of wash and wear), check here.
We gave iron on transfer shirts to all of the birthday party guests at
Tasha's 6th party. To read the whole story and see pictures of the shirts
(after 2 years of wash and wear), check here.
You can also use these transfers when sewing your own tote bags.
Materials:
- color printer.
- a shirt
- we used 100% cotton and prewashed it
- light colored shirts work better than dark ones.
- You can also put them on canvas bags, backpacks or ball caps. Read the directions on the transfer paper you choose for details of what fabrics will work.
- Iron on transfer printer paper
- we used Hewlett Packard because we have an HP printer and I have it in my head that matching equipment gives better results -- I have no proof that this is true and they're the most expensive by $1 or $2 so you may want to try out some of the other ones.
- you can purchase this printer paper from your local office supply store or you can get it from Amazon. If nothing else, you can check at Amazon and read the reviews of the different choices.
- an iron
Craft Instructions:
I'm not going to provide much in the way of directions here. Just make sure you follow the ones you get with the iron-on transfers very carefully. We only had trouble peeling the first shirt (we didn't wait long enough). When it happened, we just put everything back down, ironed it a bit more and you couldn't tell we'd messed up. All I can say is make sure you wait.
In terms of printing the transfers, you have to figure out if your printer prints on the top or the bottom. I just printed the word TEST on a scrap piece of paper. Before printing, I put an X on the front of the paper (face up) and that way, I knew whether it printed on the face up or face down side.
Make sure you set your margins as low as you can. Go into FILE, PRINT SETUP or FILE, PAGE SETUP on your browser and adjust your margins to .25 or so. In this same location you can also turn off your header and footer so you don't print the date and such.
The templates look backwards (to read any words, you have to hold them up to a mirror). This is NOT a mistake. It's how it has to be for the iron-on to work.
Close template window when done printing to return to this screen.
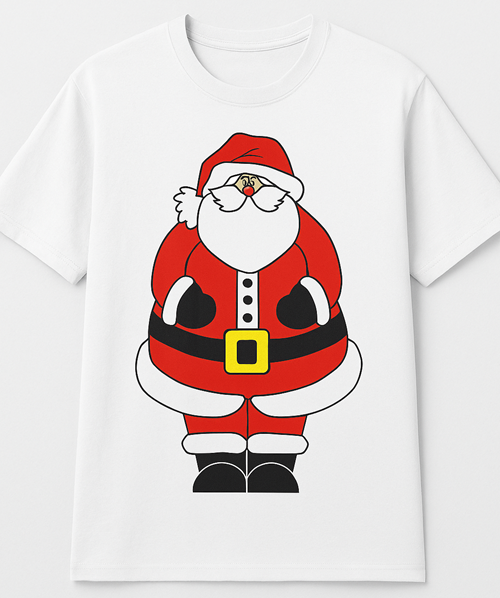
Sleepy
Santa Claus (makes 1 shirt)
(would look great on pj's!)